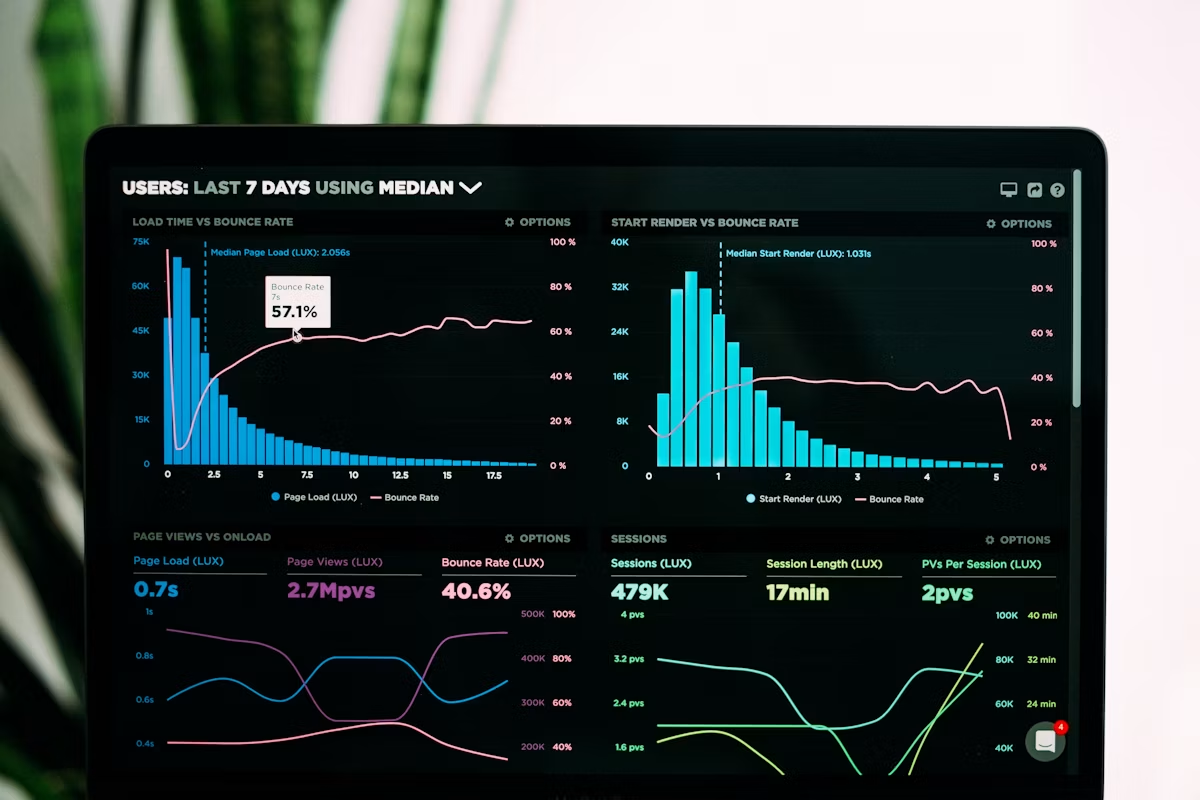
Building a Smart Home Dashboard with Home Assistant
Published July 28, 2026 · Editorial policy
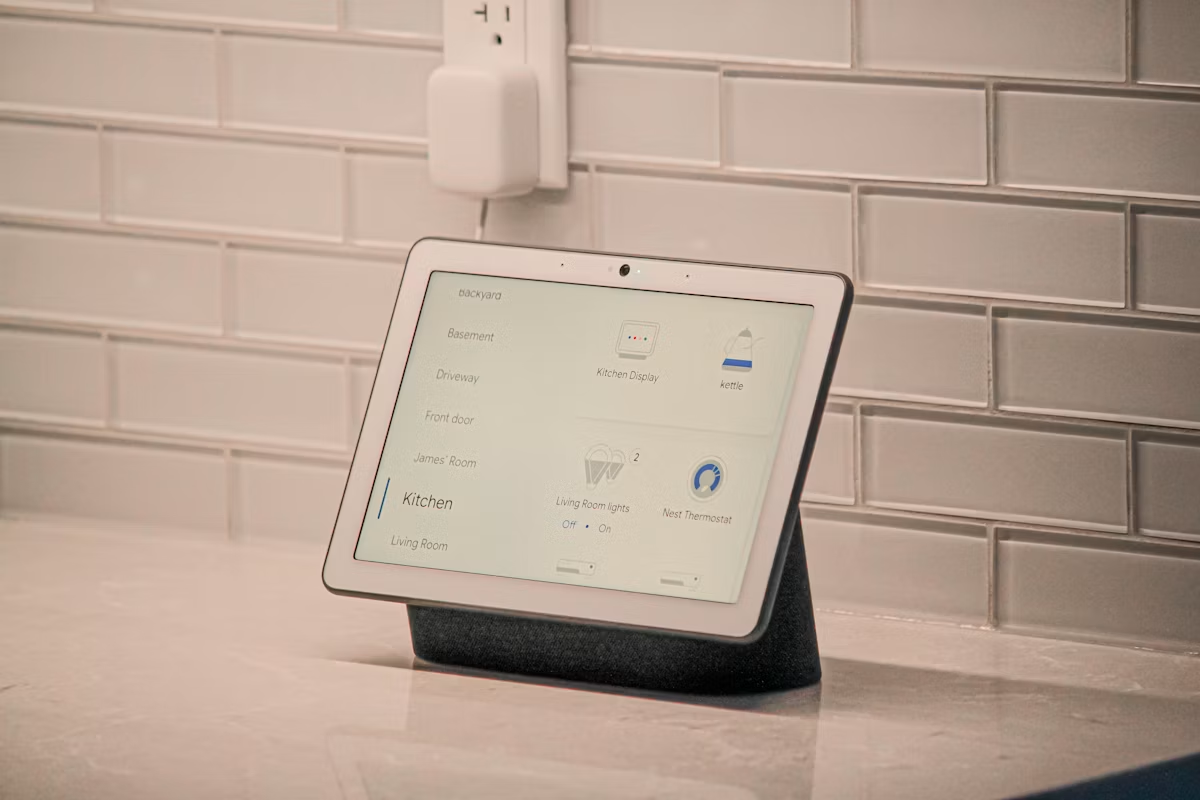
Introduction
Smart home devices are everywhere: Philips Hue lights, Ring doorbells, Ecobee thermostats, Zigbee sensors. The problem is that each device has its own app, its own ecosystem, and its own limitations. You end up with 10 different apps on your phone, none of them talking to each other.
Home Assistant solves this. It is an open-source platform that connects to over 2,000 different smart home integrations and gives you a single, centralized dashboard to monitor and control everything. In this guide, you will set up Home Assistant and build a beautiful dashboard.
Installation
The easiest way to run Home Assistant is as a Docker container:
docker run -d \
  --name homeassistant \
  --privileged \
  --restart=unless-stopped \
  -e TZ=America/New_York \
  -v /opt/homeassistant:/config \
  -p 8123:8123 \
  ghcr.io/home-assistant/home-assistant:stable
Access it at http://your-server:8123 and complete the onboarding process.
Alternatively, install Home Assistant OS on a Raspberry Pi for a dedicated smart home hub:
- Download the Home Assistant OS image from home-assistant.io
- Flash it to an SD card using Raspberry Pi Imager
- Boot the Pi and access the web interface
Step 1: Add Integrations
Navigate to Settings → Devices & Services → Add Integration. Search for and add your devices:
- Philips Hue: Connects to your Hue bridge
- Google Home / Google Nest: Controls Chromecast, Nest speakers, and displays
- Ring: Integrates doorbells and cameras
- Zigbee: Pair Zigbee sensors and switches via a Zigbee coordinator (like Sonoff Zigbee 3.0 USB Dongle)
- MQTT: Connect any MQTT-compatible device
Each integration automatically discovers devices on your network. Once connected, they appear in your dashboard.
Step 2: Create Your Dashboard
Home Assistant automatically generates a default dashboard, but the real power is in custom dashboards. Go to Settings → Dashboards → Create Dashboard.
Example: Living Room Dashboard
title: Living Room
views:
  - title: Living Room
    path: living-room
    cards:
      - type: light
        entity: light.living_room_ceiling
        name: Ceiling Light
        icon: mdi:ceiling-light

      - type: thermostat
        entity: climate.living_room_thermostat
        name: Thermostat

      - type: entities
        title: Sensors
        entities:
          - entity: sensor.living_room_temperature
            name: Temperature
          - entity: sensor.living_room_humidity
            name: Humidity
          - entity: binary_sensor.living_room_motion
            name: Motion

      - type: media-control
        entity: media_player.living_room_speaker
        name: Speaker

      - type: picture-glance
        entity: camera.front_door
        title: Front Door
        camera_image: camera.front_door
Step 3: Create Automations
The real magic of Home Assistant is automation. Go to Settings → Automations → Create Automation.
Example: Motion-Activated Lights
alias: Living Room Motion Light
trigger:
  - platform: state
    entity_id: binary_sensor.living_room_motion
    to: "on"
condition:
  - condition: sun
    after: sunset
action:
  - service: light.turn_on
    target:
      entity_id: light.living_room_ceiling
    data:
      brightness_pct: 80
      transition: 2
mode: single
Example: Temperature Alert
alias: Temperature Too High Alert
trigger:
  - platform: numeric_state
    entity_id: sensor.living_room_temperature
    above: 28
action:
  - service: notify.mobile_app
    data:
      title: "Temperature Alert"
      message: "Living room is {{ states('sensor.living_room_temperature') }}°C"
      data:
        push:
          sound: default
Example: Good Night Routine
alias: Good Night
trigger:
  - platform: time
    at: "23:00:00"
action:
  - service: light.turn_off
    target:
      entity_id: all
  - service: climate.set_temperature
    target:
      entity_id: climate.living_room_thermostat
    data:
      temperature: 20
  - service: lock.lock
    target:
      entity_id: lock.front_door
  - service: notify.mobile_app
    data:
      title: "Good Night"
      message: "All lights off, thermostat set, doors locked."
Step 4: Use Templates
Home Assistant uses Jinja2 templates for dynamic values:
# Display temperature with one decimal place
{{ states('sensor.living_room_temperature') | float(0) | round(1) }}°C

# Check if someone is home
{{ is_state('person.gabriel', 'home') }}

# Calculate average of multiple sensors
{{ ((states('sensor.temp_1') | float + states('sensor.temp_2') | float) / 2) | round(1) }}
Step 5: Mobile App
Install the Home Assistant companion app on your phone. It gives you:
- Full dashboard access on mobile
- GPS-based presence detection
- Push notifications for alerts
- Quick actions (widgets for one-tap control)
- Camera feeds on your lock screen
Step 6: Advanced — MQTT Sensors
For DIY sensors, use MQTT:
# In your ESPHome or Arduino code:
# Publish temperature every 60 seconds
mqtt:
  topic: "home/living-room/temperature"
  payload: "{{ temperature }}"

# In Home Assistant configuration.yaml:
mqtt:
  sensor:
    - name: "Living Room Temperature MQTT"
      state_topic: "home/living-room/temperature"
      unit_of_measurement: "°C"
      device_class: "temperature"
Conclusion
Home Assistant turns your fragmented smart home into a unified, automated system. With a single dashboard, you can control lights, climate, security, media, and sensors from every manufacturer. The automation engine lets you create routines that make your home truly intelligent — lights that respond to presence, climate that adjusts to your schedule, and alerts that keep you informed. Start with the basics and add integrations incrementally. Your home will never be the same.
Related guides
Related articles
Automate Home Assistant SQLite Backups to AWS S3
Configure Home Assistant Notifications via Webhook Server