Fix Black Screen After Windows Update: Developer Guide
Published August 2, 2026 · Editorial policy
Introduction
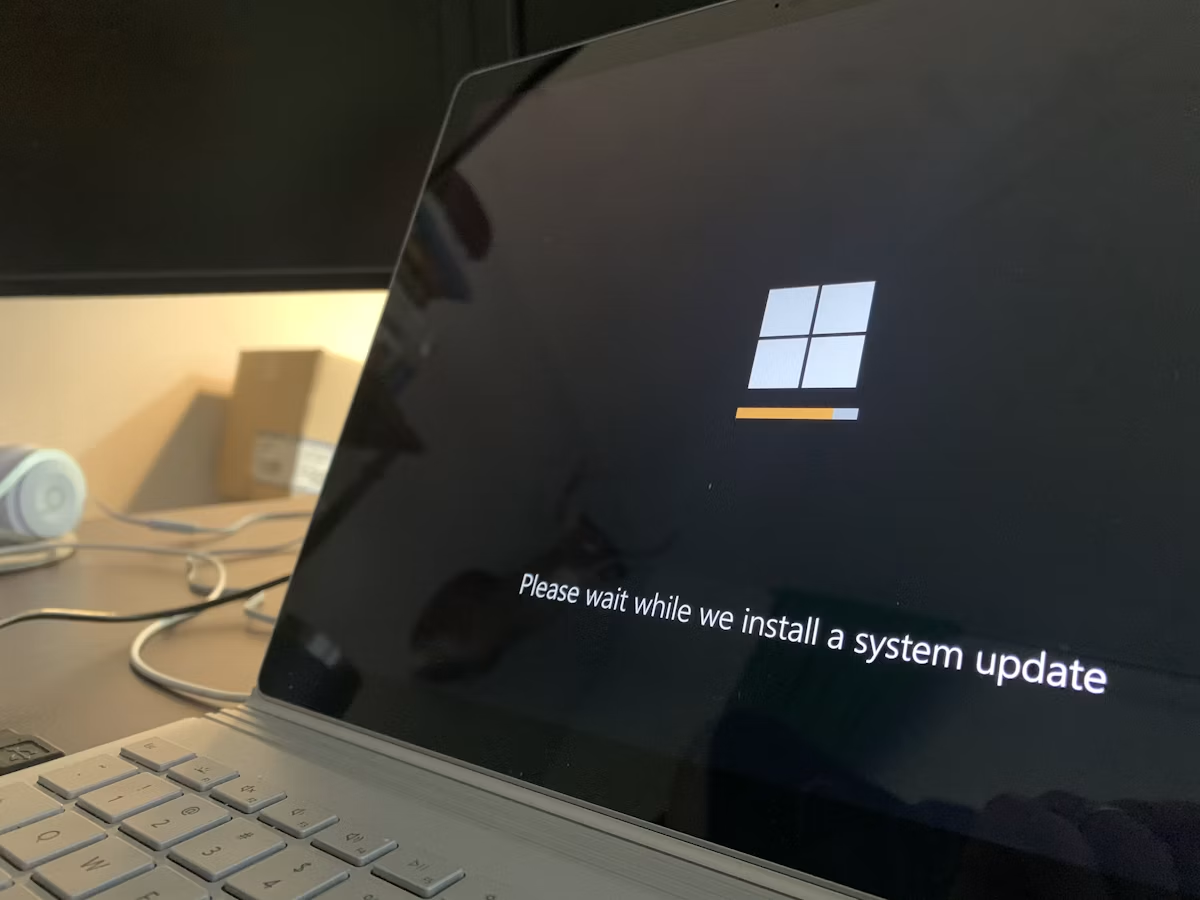
A black screen after a Windows update is one of the most frustrating interruptions a developer can face. One moment you are compiling a massive Rust workspace or waiting on a Docker build; the next, you are staring into a void with zero feedback, wondering if your kernel panicked, your bootloader corrupted, or your display driver simply flatlined.
For developers, this isn't just an inconvenience—it halts productivity, breaks local environments, and risks uncommitted work if hard-reboots are mishandled. Standard consumer troubleshooting guides ("unplug your printer" or "run the troubleshooter") are useless here. You need low-level diagnostics, command-line recovery tools, and precise interventions to get back to your IDE.
This guide provides a systematic, technical approach to diagnosing and resolving the post-update black screen of death on Windows 10 and 11, focusing on display driver corruption, explorer.exe failures, Secure Boot/TPM quirks, and botched cumulative updates.
Phase 1: Triage and Toggling the Shell
Before opening the chassis or flashing a recovery USB, you need to determine if the operating system has actually booted and the graphics stack has crashed, or if the system is stuck in a pre-boot loop.
1. The Windows Key Sequence Reset
When faced with a black screen, the Windows graphics subsystem may simply be unresponsive. Try restarting the Desktop Window Manager (DWM) and the graphics driver using this undocumented-by-consumers key combo:
Ctrl + Shift + Win + B
- What it does: This forces Windows to restart the graphics driver. Your screen will flicker, and you may hear a beep. If the GPU driver was the culprit, the display server will reset and restore your desktop.
2. Accessing Task Manager
If your desktop environment (explorer.exe) failed to spawn after the update, the underlying Windows kernel might be running fine.
- Press
Ctrl+Alt+Delete. - If the security screen appears, select Task Manager.
- If Task Manager opens, click File > Run new task.
- Type
explorer.exeand hit Enter.
If your taskbar and desktop reappear, a post-update script likely corrupted your user shell registry keys. Skip to Phase 4 to fix registry persistence.
Phase 2: Entering Advanced Startup (WinRE)
If the system fails to post a graphical interface entirely, you must force-boot into the Windows Recovery Environment (WinRE).
- Power on your machine.
- The moment you see the manufacturer logo or the Windows dots, press and hold the physical Power Button for 10 seconds to force a hard shutdown.
- Repeat this process three times.
- On the fourth boot, Windows will automatically route you to the Automatic Repair screen.
- Click Advanced options > Troubleshoot > Advanced options > Command Prompt.
You now have a privileged administrative command line interface to surgically repair the OS.
Phase 3: Driver and Update Remediation via CLI
Updates frequently overwrite GPU drivers or inject incompatible display hooks. Let's address the most common culprits using WinRE's Command Prompt.
1. Uninstalling the Latest Cumulative Update
If the update itself corrupted the boot image or system files, uninstalling the latest quality or feature update is the fastest remediation path.
First, list the installed packages using DISM to find the identity of the problematic update:
DISM /Image:C:\ /Get-Packages
Look for the package identity matching the recent update (e.g., Package_for_RollupFix~31bf3856ad364e35~amd64~~...). Once identified, remove it using:
DISM /Image:C:\ /Remove-Package /PackageName:Package_for_RollupFix~31bf3856ad364e35~amd64~~19041.1237.1.8
(Note: Replace C:\ with your actual Windows installation drive letter if it differs in the recovery environment. Run diskpart -> list volume to verify.)
2. Purging and Resetting Graphics Drivers
Windows updates often bundle generic or WHQL-certified GPU drivers that conflict with NVIDIA/AMD vendor software or custom multi-monitor setups.
Boot into Safe Mode with Networking to address this:
- From WinRE, go to Troubleshoot > Advanced options > Startup Settings > Restart.
- Upon reboot, press
4orF4to enable Safe Mode.
Once in Safe Mode:
- Open Device Manager (
devmgmt.msc). - Expand Display adapters.
- Right-click your discrete GPU (NVIDIA/AMD) and select Uninstall device.
- Check the box to Attempt to remove the driver for this device and click Uninstall.
- Reboot normally. Windows will fall back to the generic Microsoft Basic Display Adapter, allowing you to reinstall clean vendor drivers.
Phase 4: Fixing Shell Corruption and Corrupted System Files
If the system boots, the GPU is fine, but you are stuck in a persistent black cursor state, the issue lies within corrupted system binaries or registry hives.
1. Run SFC and DISM Repairs
Run these commands from an elevated Command Prompt (either via Safe Mode or WinRE) to verify and rebuild the component store:
sfc /scannow /offbootdir=C:\ /offwindir=C:\Windows
Follow this with a deployment image servicing scan to repair system image corruption:
DISM /Online /Cleanup-Image /RestoreHealth
(If running from WinRE, use /Image:C:\ instead of /Online)
2. Verify User Shell Registry Keys
A botched update can alter the registry keys responsible for launching the desktop interface.
- Open the Registry Editor (
regedit). - Navigate to the following hive:
HKEY_LOCAL_MACHINE\SOFTWARE\Microsoft\Windows NT\CurrentVersion\Winlogon - Look at the string value named Shell.
- Its value data must be exactly:
If it points to a malware path, a blank space, or a leftover update script, double-click it and correct it toexplorer.exeexplorer.exe.
Check the user-specific hive as well:
HKEY_CURRENT_USER\Software\Microsoft\Windows NT\CurrentVersion\Winlogon
(If the Shell key exists here, delete it to force inheritance from the local machine hive).
Phase 5: Resolving Deep-Level Boot Issues
If the system hangs before the login manager, you may be dealing with BCD (Boot Configuration Data) corruption or fast startup conflicts.
1. Disable Fast Startup via Command Line
Fast Startup saves a hybrid hibernation file of the kernel state on shutdown. Post-update, this file is frequently corrupted, resulting in a black screen loop.
From an administrative command prompt, disable hibernation entirely to clear this state:
powercfg /hibernate off
2. Rebuilding the BCD Store
If the boot manager cannot hand off execution to winload.exe, rebuild the boot configuration data:
bootrec /fixmbr
bootrec /fixboot
bootrec /scanos
bootrec /rebuildbcd
Phase 6: Developer-Specific Edge Cases
As developers, we often run configurations that standard consumers don't—custom hypervisors, WSL2 kernels, multiple virtualization engines, and discrete multi-GPU setups. These can cause specific update conflicts:
1. WSL2 and Hypervisor Conflicts
If you are running Windows Subsystem for Linux 2 alongside third-party hypervisors (like VirtualBox or older VMware Workstation builds), a Windows update to the Virtualization-Based Security (VBS) layer can cause a black screen during the handoff to the desktop.
Fix: Temporarily disable Hyper-V and WSL features from the recovery command line:
dism /Online /Disable-Feature:Microsoft-Hyper-V-All
dism /Online /Disable-Feature:VirtualMachinePlatform
2. Multi-Monitor and Virtual Display Drivers
If you use tools like Synergy, Barrier, or virtual display drivers for headless servers/VR development, Windows updates often break the display enumeration order. The primary output is sent to a phantom virtual display device while your physical monitor receives no signal.
Fix: Disconnect all secondary monitors, docking stations, VR headsets, and capture cards. Boot with a single, direct HDMI/DisplayPort connection to your primary GPU.
Preventive Measures for Future Updates
To avoid breaking your development environment on the next Patch Tuesday:
- Pause Updates During Active Sprints: Use Windows Settings to pause updates for up to 35 days when you are working on tight deadlines.
- Export Your Display Drivers: Keep a known-stable installer package for your NVIDIA/AMD drivers locally in a dedicated
C:\Driversdirectory. - Configure System Restore: Ensure System Restore is active on your primary C: drive so you can instantly roll back registry states via WinRE without resorting to DISM scripts.
powershell Enable-ComputerRestore -Drive "C:\"
By methodically isolating the graphics stack, repairing the shell environment, and cleaning up update packages via the command line, you can bypass the black screen and get back to writing code in minutes instead of hours.
Related articles
Fix Discord Voice Lag Caused by Windows 11 Docker Containers
Why Discord Keeps Changing Your Audio Device on Windows